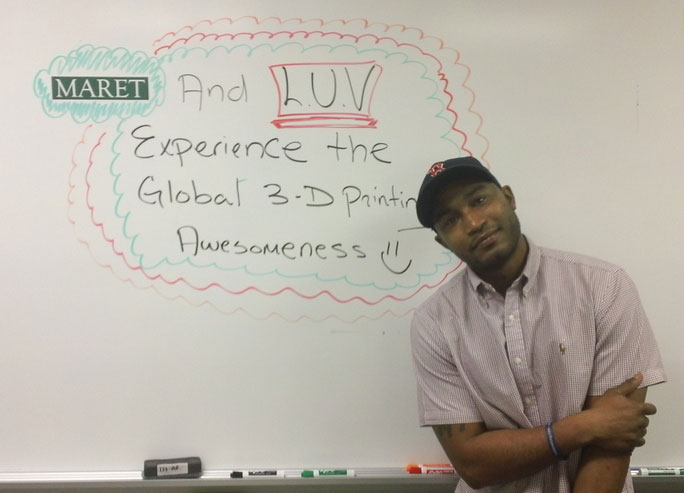
“Students were able to learn from their global partners, work with their global partners and experience solving real-life issues in a hands-on way, ” said Maret teacher Jah Jah Bey.
The 3D printing classroom is a special place where students are inspired to design, innovate, or even share ideas with partners across the globe. At Maret School in Washington, D.C., students recently connected with peers in China as part of LUV’s Global Inventors led by teacher Jah Jah Bey. He shared with us these tips on sparking student creativity and getting the most out of the experience:
- Set the Mood
Coming from a family of artists, I found early on that image, text, sound, and motion can be used in a very powerful way. As an instructor, I have to find creative ways to engage pupils and ignite the creative genius in all of them. I do this by first creating an atmosphere for learning sort of like Starbucks creates an atmosphere that makes you want to study, attack that workload, and more importantly, drink coffee.
You have to create the atmosphere in your MakerSpace. It needs to feel like you’re in a different world for the time being. I make sure there is 3D printing going on and music playing. I want to ignite certain emotions in the students. Usually, when they came in I play “The Best Day of My Life” or “Cooler than me” by Mike Posner. If I want them to focus in, I’ll play “Rude” or Alabama Shakes’ “Guess Who” because those are more calm. If I want to get them going, I play a more uptempo song – definitely “Happy” by Pharrel Williams.
- Emphasize the Role Art Plays in STE(A)M
Finding different ways to help students arrive at a common goal is one way that art plays a role in instruction; however, art also plays a significant role in the output phase as well. Information Technology Specialist, Artists, Sculptures, Engineers, Scientists and others all create things that start from an idea. As inventors, we all follow the Engineering Design Cycle (EDC) and all produce a variety of things that reflect our colorful personalities, experiences, and rhythms. Some of us call the result of this process a “prototype” at the beginning stage, and in its final stage, we call it a “finished product.” In my opinion, art is STEM and STEM is art.
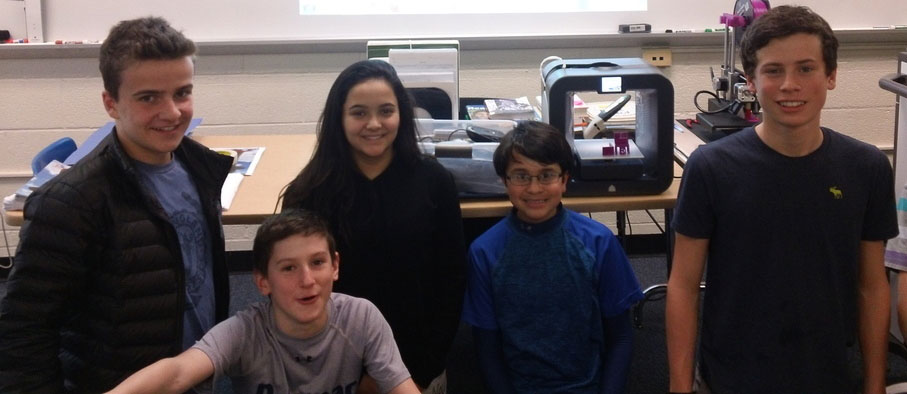
Students in the 3D printing club at Maret School met weekly to make designs, solve problems and collaborate with partners in China as part of LUV’s Global Inventors course.
- Print all the Projects you Can
The Level Up Village curriculum was awesome. However, you have to be able to expand, elaborate, and improvise. One way to do that is to print as many of the students’ designs as you can. It really motivated students knowing they were going to see their projects on display each time they came into class. This kept each student engaged and really gave each student something to look forward to each week.
- Make the Lesson Interactive
To tap into all of the ways students learn, I try to make my lesson plans very interactive. For example, I always have a visual on the Smartboard that matches what I’m teaching. Recently I have been using a software called Nearpod where I can engage students in different ways (i.e. project the Objective for the day and/or ask students an open-ended question). The open-ended question feature allows students to see a question on the screen and type in their answers. It also creates a space where students can submit detailed responses that they might not want to share with the whole class. Sometimes it’s great to have class discussions that way. I might ask, “What did you learn from your global partners?” I am the only one who can see what they say. If they want their response shared, I can easily do that and their response will be displayed on the Smartboard. Multiple choice questions are another great feature that Nearpod offers.
Recently, I had them draw how they felt as part of a warm up so I could check in with them. With Level Up Village, the most important thing is the global partner exchange. I asked them to illustrate where you are with your partner and what’s going on. And they would draw a happy face, or a flower, and that way I could gauge.
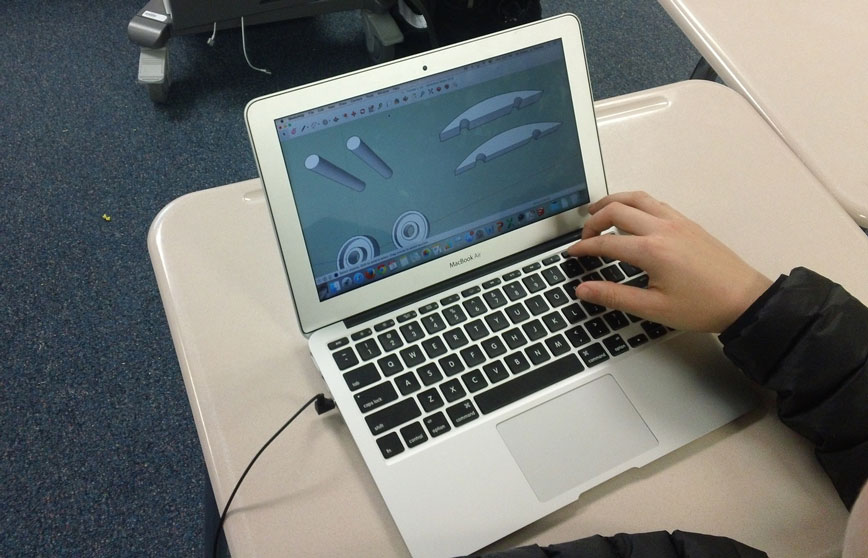
Teacher Jah Jah Bey gave students several options about how to approach their designs: draw on paper, jump right into SketchUp or record their ideas using a Bloggie.
- Give Students Options
When it came to creating their designs, I gave students three options: they could grab a piece of paper and illustrate, they could design using SketchUp/TInkercad, and they could also use a Bloggie – it’s a video camera and a still camera all in one. I provided students with Bloggies anticipating that some of them might want to videotape something or make an audio recording of their idea so they can play it back later for inspiration.
We’re in here to create and be creative. It’s brilliant enough if you can follow the directions and make a chess pawn. I didn’t put restrictions on that. But if they wanted to create a bishop, a bat man king or a wonder woman queen, I gave them the room to really enhance and build on that. That was with everything – with the wheels we designed, the chess pieces, the chairs. And right now we’re doing the solar light panel.
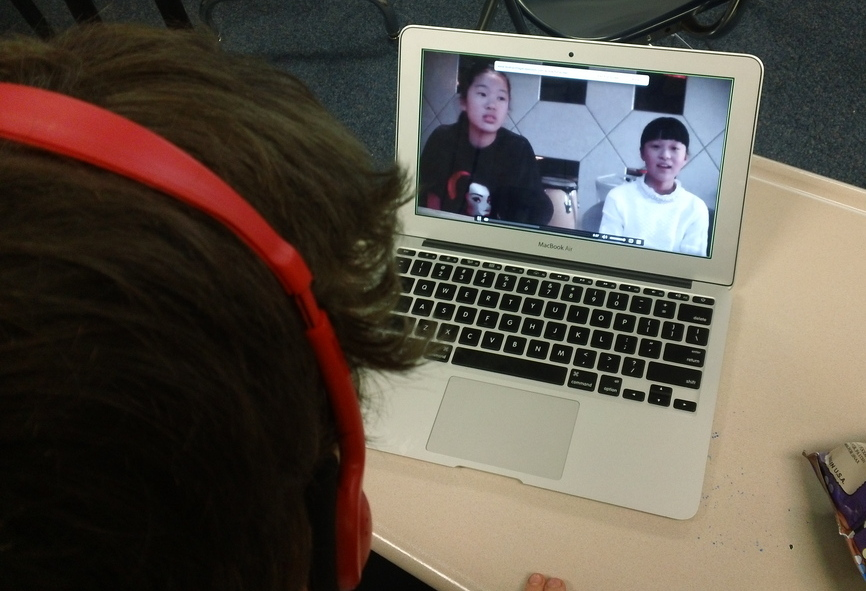
“Global collaboration contributes to the 3D printing experience by giving students a purpose behind their creations and making them accountable to their global partners as opposed to only being held accountable by their teacher,” said Bey.
- Do a good job with the Videos
I go through and look at every single one of the global partners’ videos myself. I write down what they said and any questions they might have asked my students. It keeps me informed on where the exchange is, what’s happening, and what’s being said. Knowing such information helps me coach my students up on how to converse with their global partners, how to ask good questions to their global partners, and how to be clear when it’s time to record. I told them that when they answer, they should repeat the question their partners asked, like this: “So in last video, you asked me…” This creates a great Level Up Village exchange.
- Collaborate to Give Students Purpose
Global collaboration contributes to the 3d printing experience by giving students a purpose behind their creations and making them accountable to their global partners as opposed to only being held accountable by their teacher. This course helped my students gain a broader perspective of global issues intellectually and empirically. Students were able to learn from their global partners, work with their global partners, and experience solving real-life issues in a hands-on way. To say the global collaboration made the 3d printing experience better would insultingly try to quantify the effect that it had on the course.

